Blog
Blog
Air Majesty A/C & Heating
The Ultimate Guide to Air Conditioner Repair
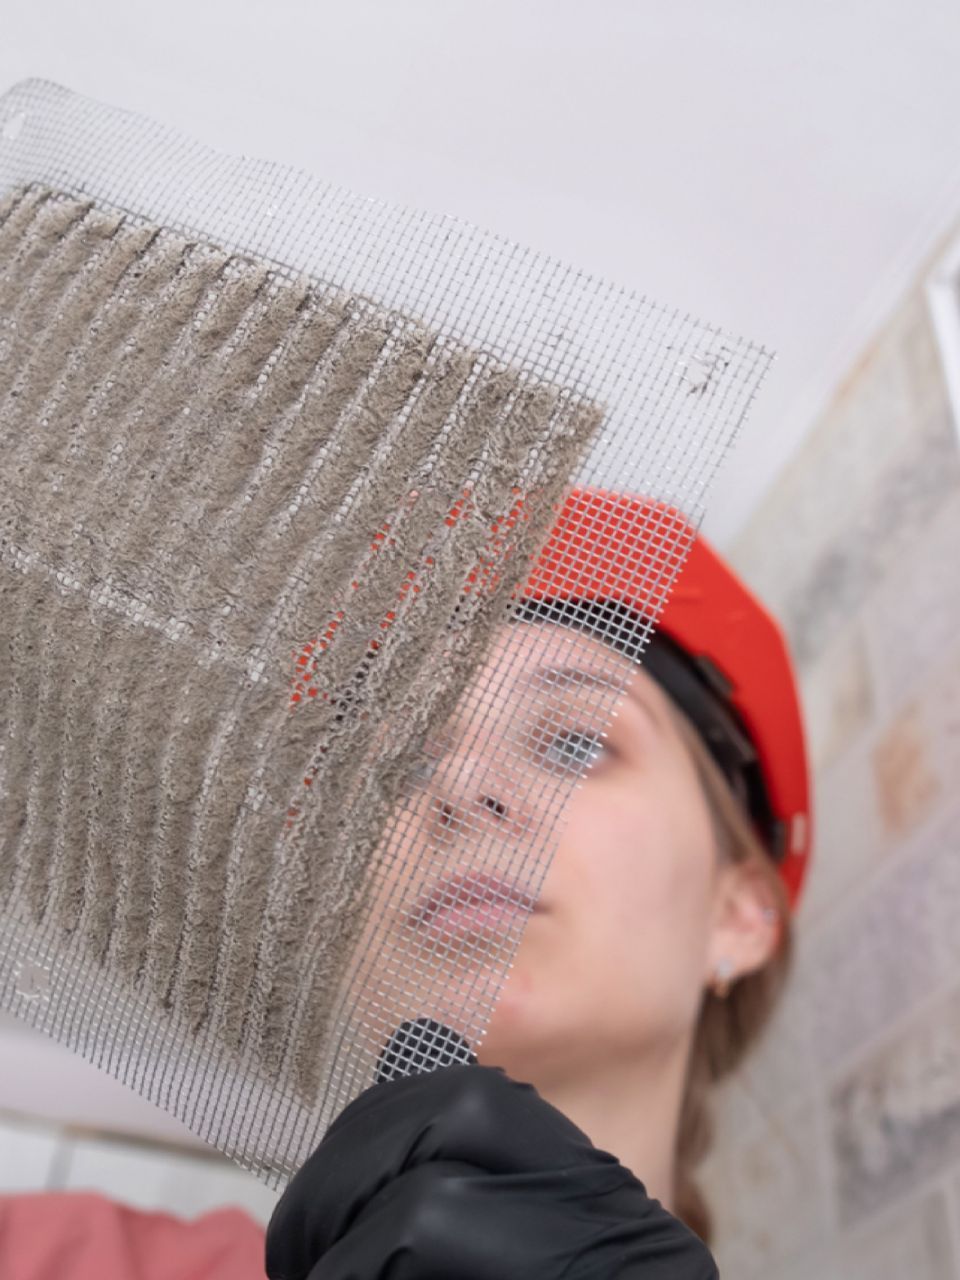
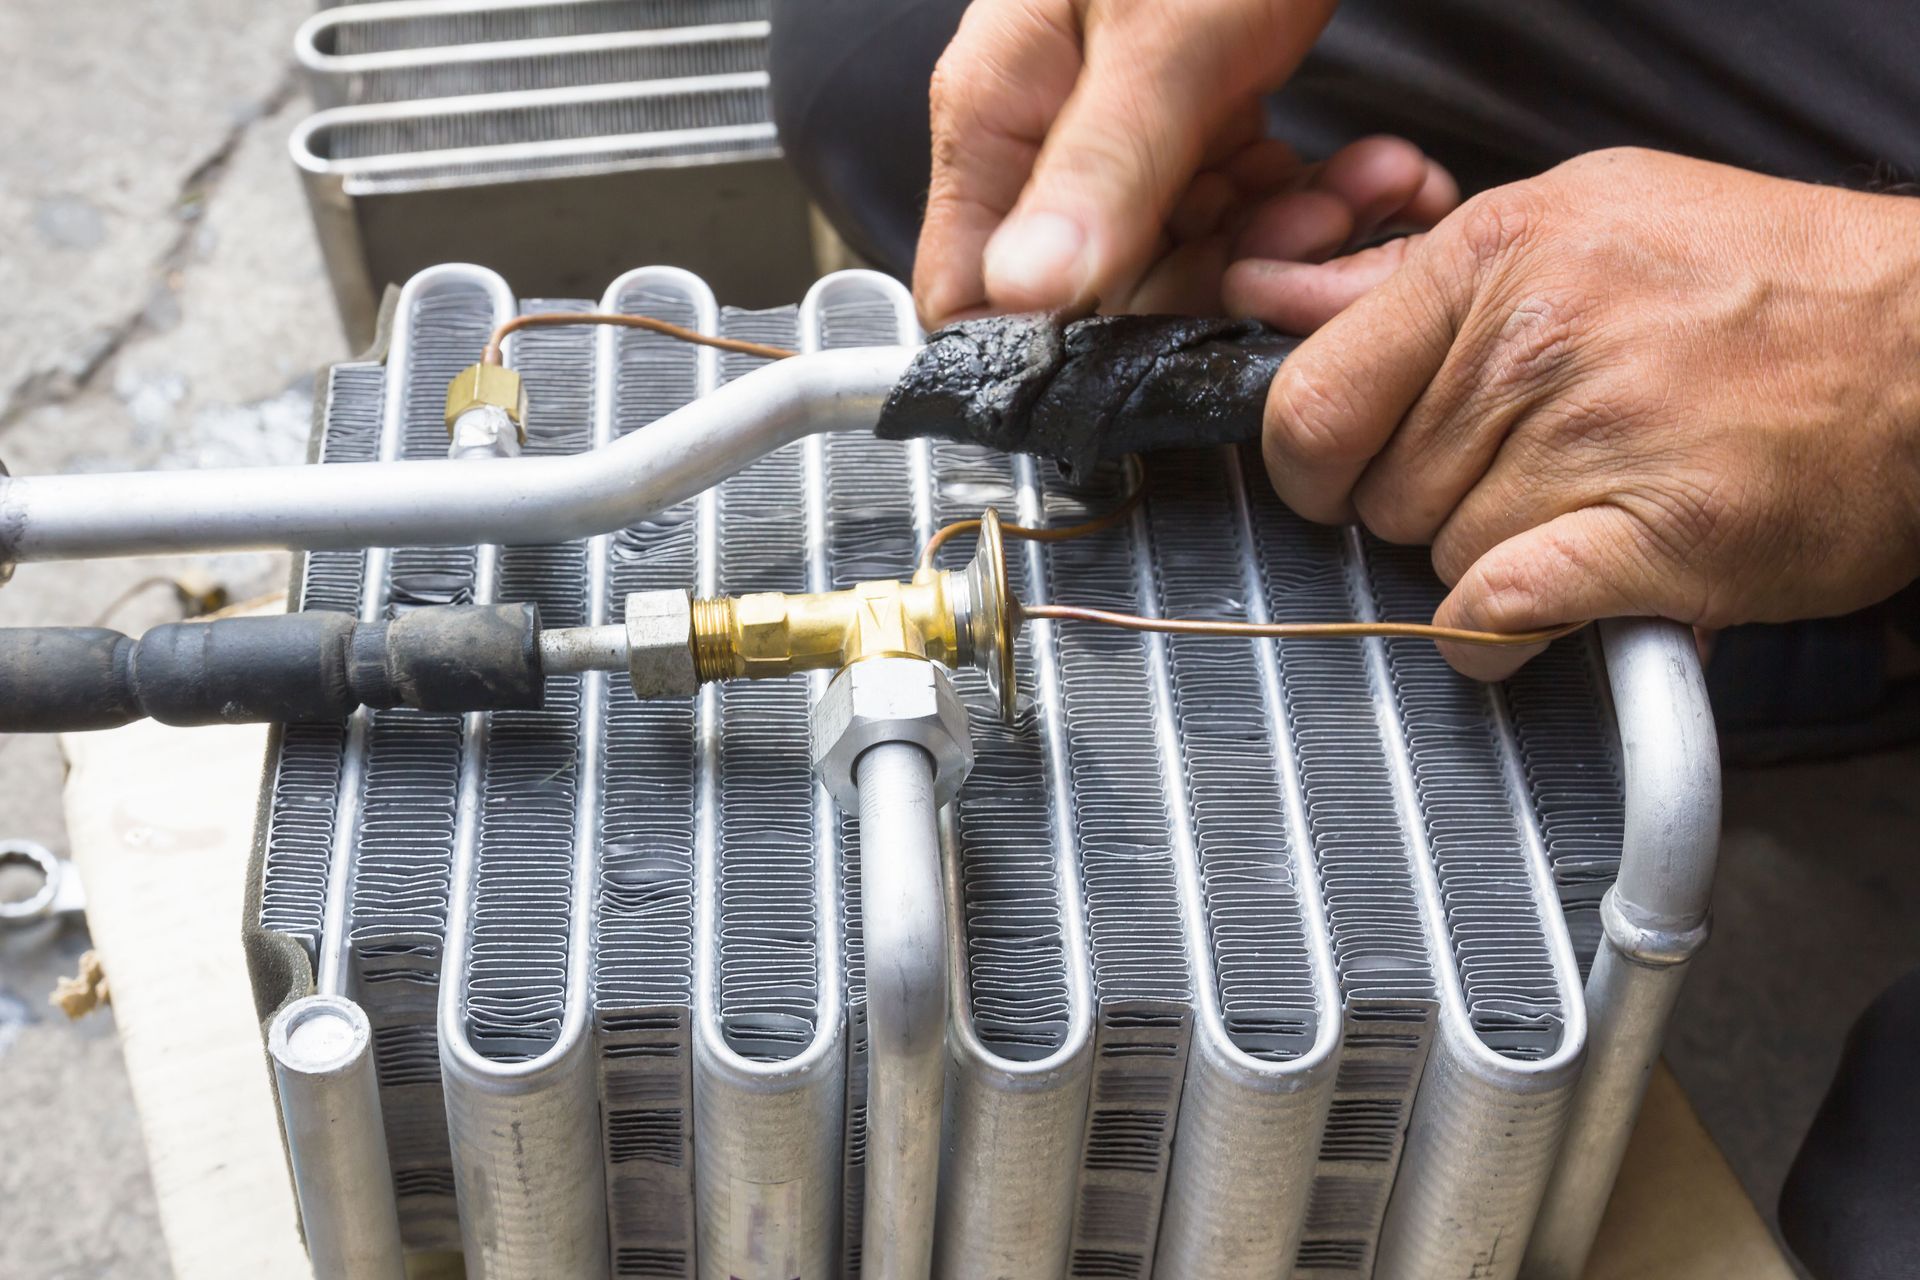
Maintaining your air conditioner (AC) is crucial for its efficiency and longevity. One essential maintenance task is cleaning the AC coils, as dirty coils can lead to higher energy bills, reduced cooling performance, and even system breakdowns. Fortunately, cleaning your air conditioner coils is straightforward and can be done with minimal tools and effort. Here’s a step-by-step beginner’s guide to help you get started. Why Cleaning Your AC Coils Matters Your AC system has two sets of coils: the evaporator coils (located inside the indoor unit) and the condenser coils (found in the outdoor unit). These coils are responsible for transferring heat and ensuring the system runs efficiently. Over time, dust, dirt, and debris can accumulate on the coils, hindering heat transfer and forcing your system to work harder. Benefits of Cleaning AC Coils: Improves energy efficiency Reduces strain on your system Prevents costly repairs Extends the lifespan of your AC unit Maintains consistent cooling performance What You’ll Need Before you start, gather these tools and supplies: Screwdriver or wrench (to access the coils) Soft brush or coil cleaning brush Fin comb (optional, for straightening bent fins) Spray bottle Mild detergent or a commercial coil cleaner Garden hose (for outdoor coils) Gloves and safety goggles (for protection) Step-by-Step Guide to Cleaning Your AC Coils Step 1: Turn Off the Power Safety first! Turn off the power to your AC unit at the thermostat and the circuit breaker. This prevents electrical shocks and ensures the system is completely powered down while you work. Step 2: Access the Coils Evaporator Coils: Open the access panel of the indoor unit, which may require a screwdriver or wrench. Refer to your user manual if you’re unsure where the coils are located. Condenser Coils: For outdoor units, remove the protective grille or cover to expose the coils. Step 3: Remove Loose Debris Use a soft brush to gently remove dirt, dust, and debris from the coils. Be careful not to bend the fins, as this can reduce airflow. Step 4: Apply Coil Cleaner For Evaporator Coils: Mix a solution of mild detergent and water in a spray bottle. Spray the solution evenly on the coils and let it sit for 5-10 minutes to loosen grime. For Condenser Coils: You can use the same detergent solution or a commercial coil cleaner. Spray generously and allow the cleaner to work as instructed on the product label. Step 5: Rinse the Coils Indoor Coils: Wipe the coils with a clean, damp cloth to remove the cleaning solution and debris. Be careful not to oversaturate the area. Outdoor Coils: Use a garden hose to rinse the coils thoroughly. Avoid using high-pressure settings, as they can damage the fins. Step 6: Straighten Bent Fins (Optional) If you notice any bent fins on the coils, use a fin comb to straighten them gently. This helps improve airflow and efficiency. Step 7: Reassemble and Test Once the coils are clean and dry, reassemble the access panels or covers. Turn the power back on and test your AC to ensure it’s running smoothly. How Often Should You Clean AC Coils? Evaporator Coils: Inspect and clean at least once a year, or more often if you notice reduced cooling performance. Condenser Coils: Clean every 6 months, especially if your outdoor unit is exposed to dirt, leaves, or other debris. When to Call a Professional While cleaning AC coils is a manageable DIY task, some situations require professional help: Extensive coil damage or corrosion Persistent cooling issues after cleaning Lack of access to specialized tools like coil cleaners or fin combs An HVAC technician can provide deep cleaning and ensure your system is operating at peak efficiency. By following this beginner’s guide, you can keep your air conditioner’s coils clean and your home cool and comfortable all year long. Regular maintenance not only saves you money but also prevents unnecessary stress on your HVAC system. Happy cleaning!
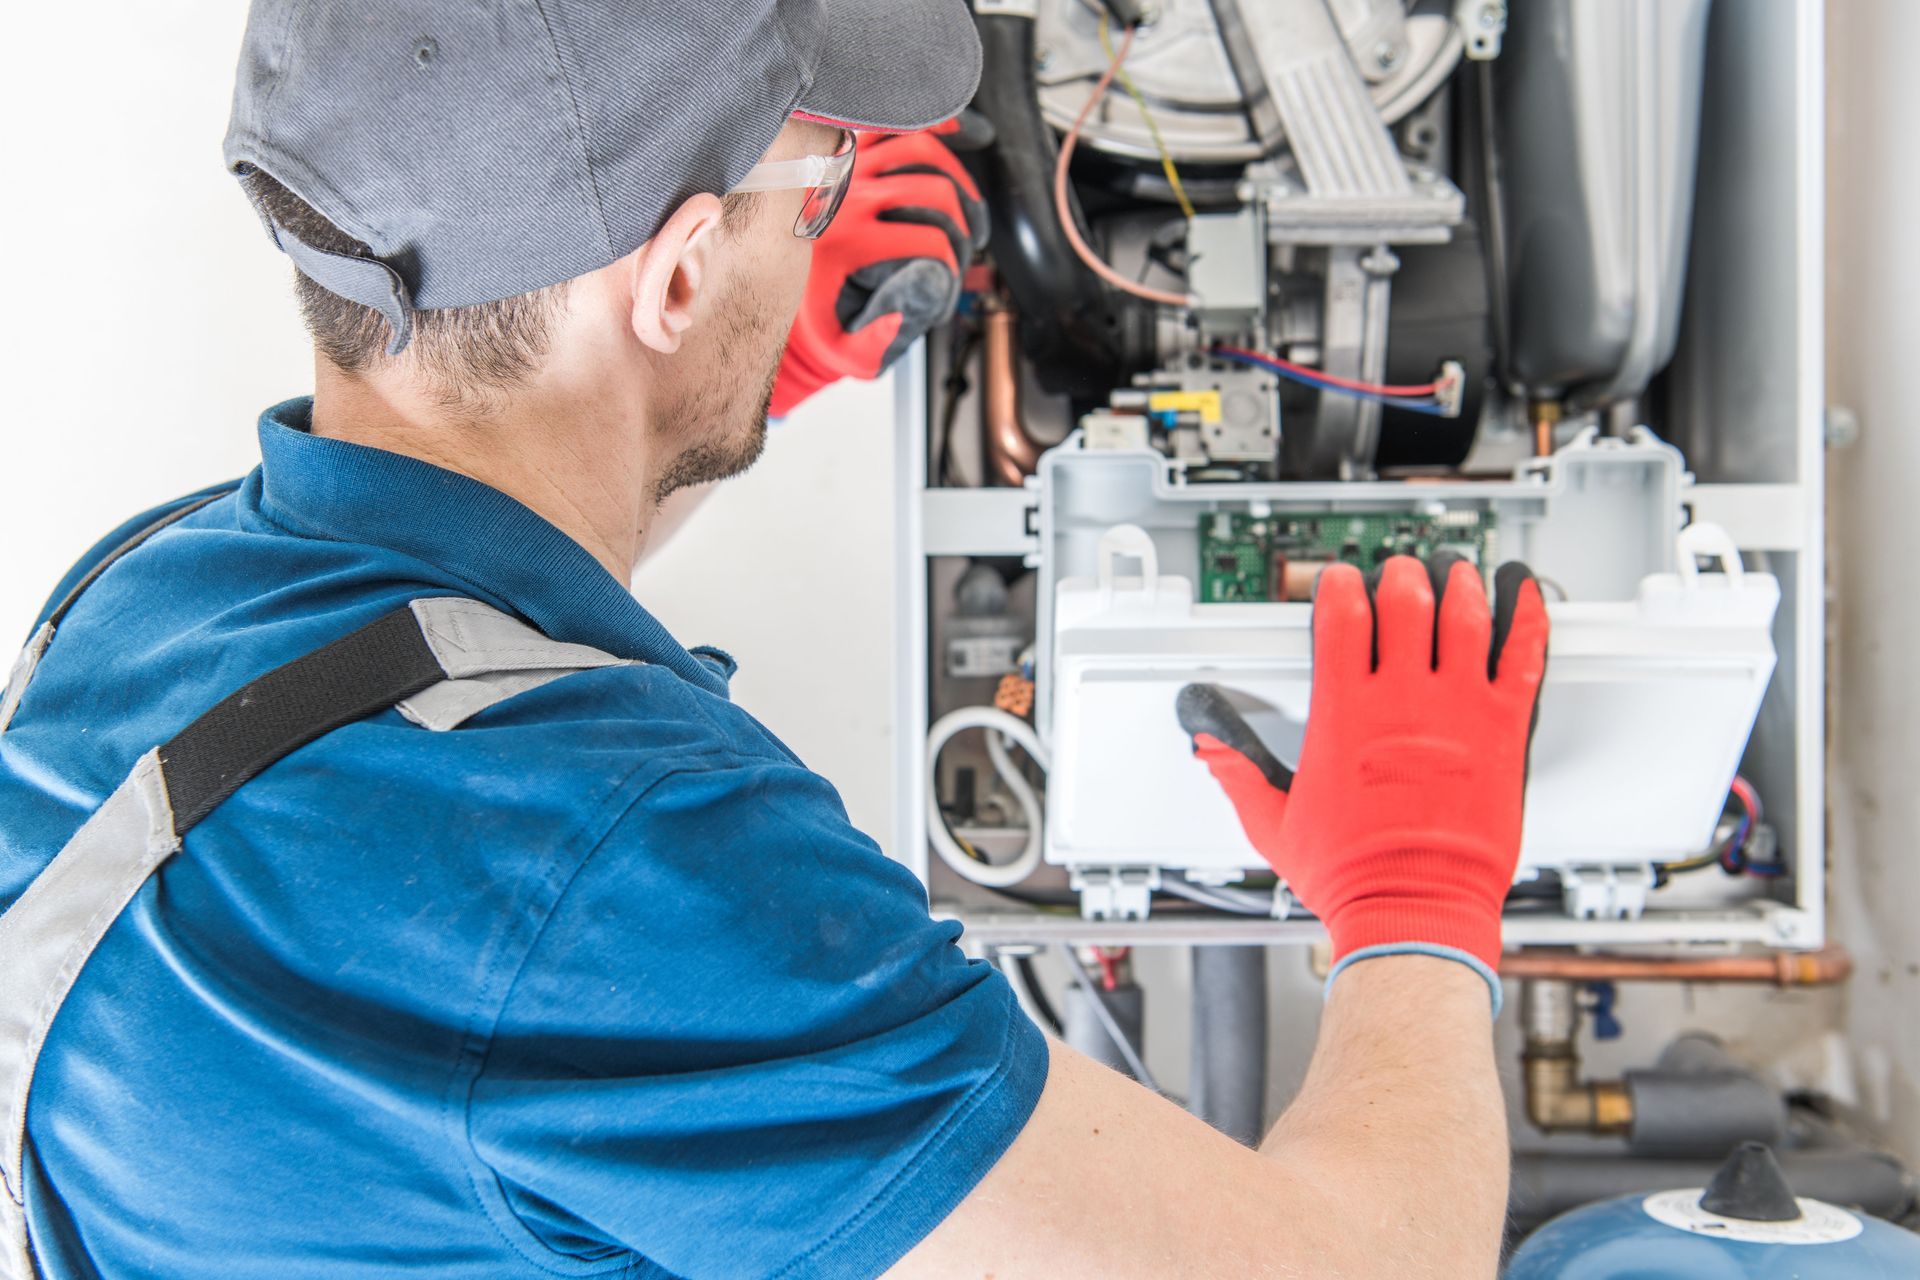
In this blog post, our HVAC company will share some tips on streamlining your furnace replacement and helping your unit last. Let's get started!
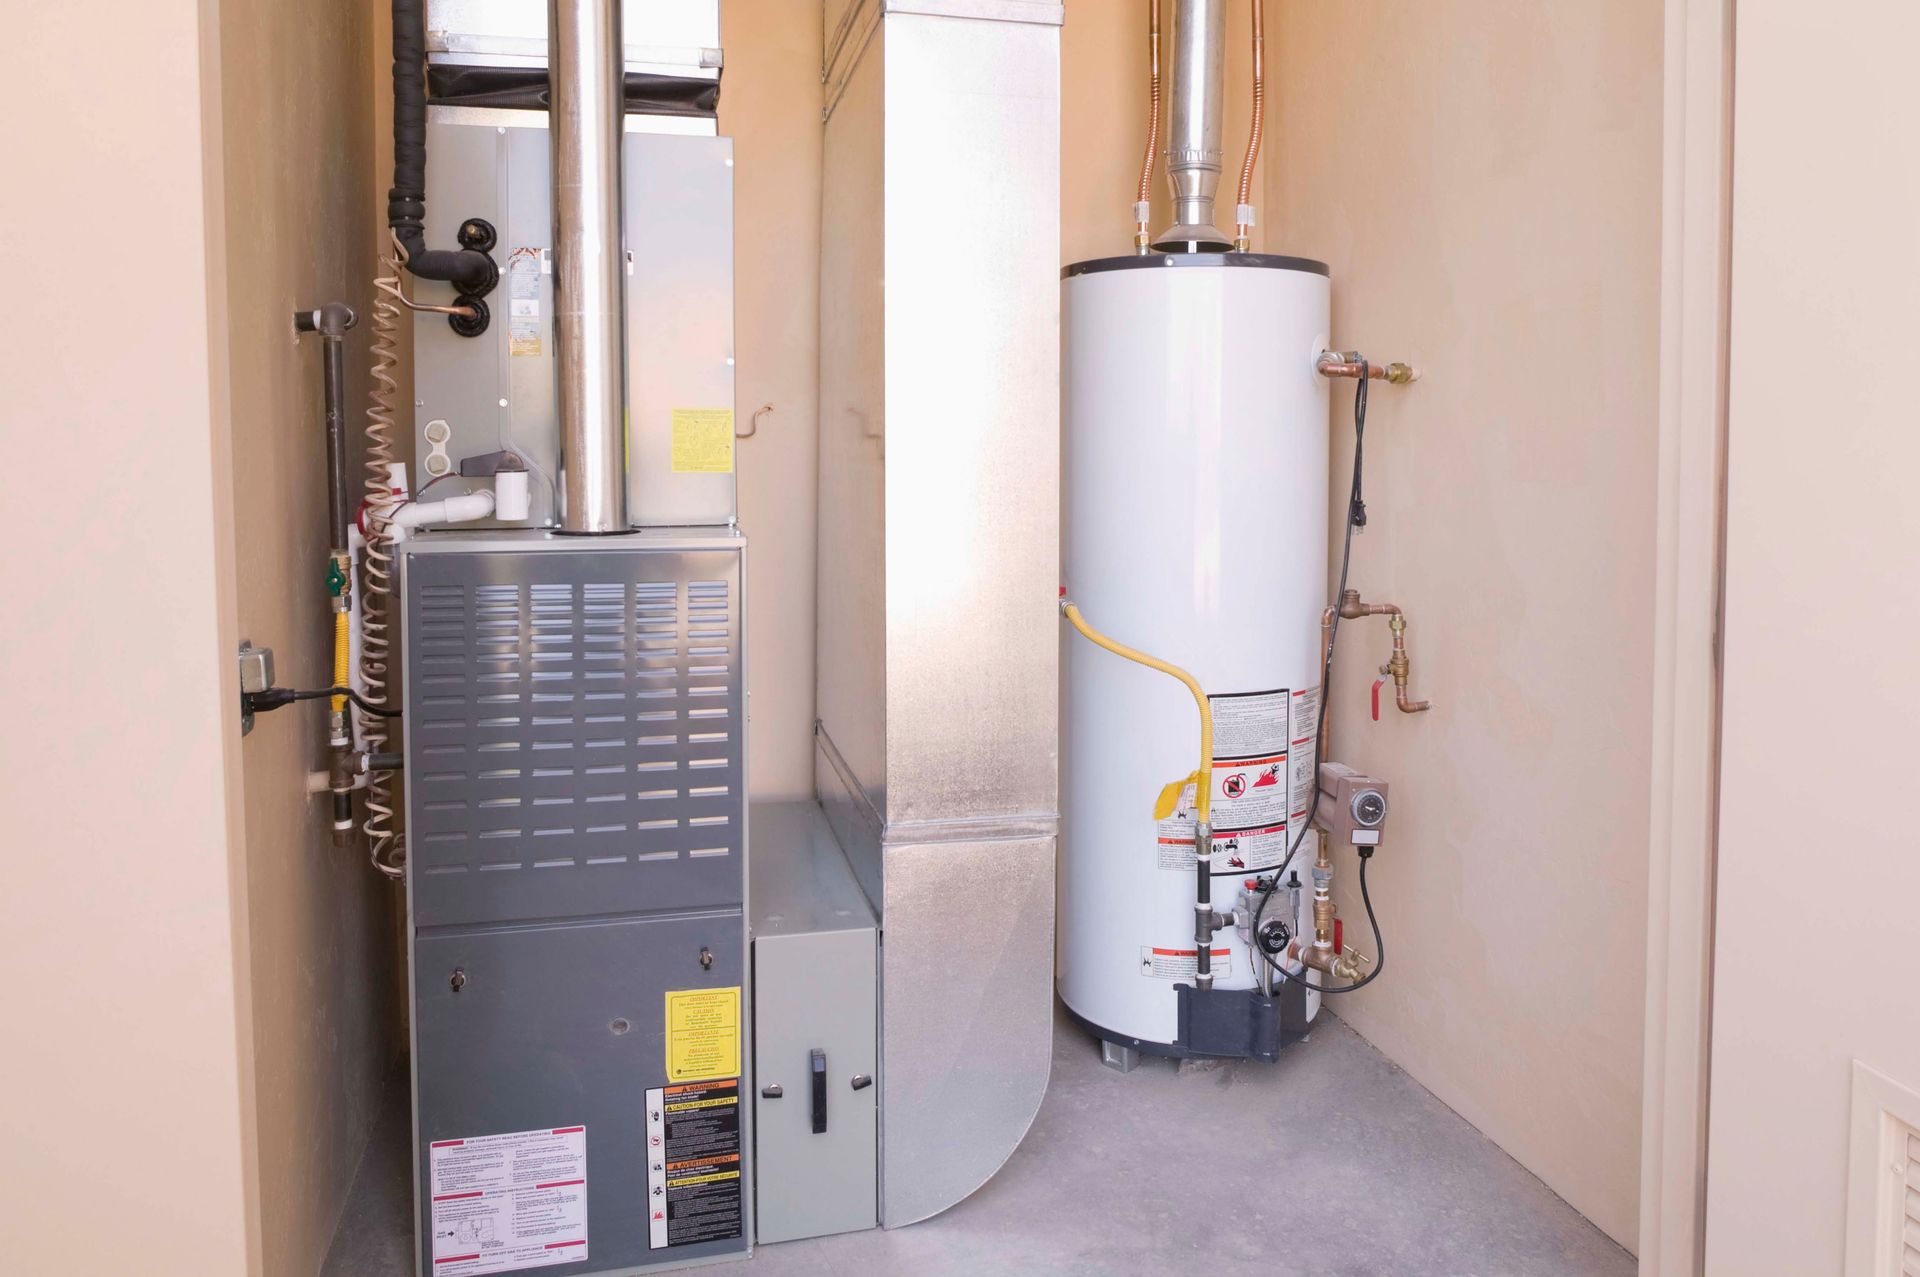
Is your furnace or HVAC repair appointment quickly approaching? Continue reading to learn more about what to expect from this visit.
If you're dealing with any of these issues, it might be time to contact your local HVAC services. To learn more, give us a call today!
Share On: